

Hubspot Design Tools Email Template Modules Media Size Css
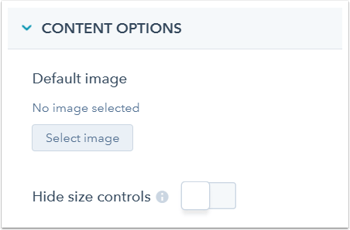
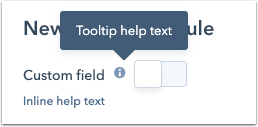
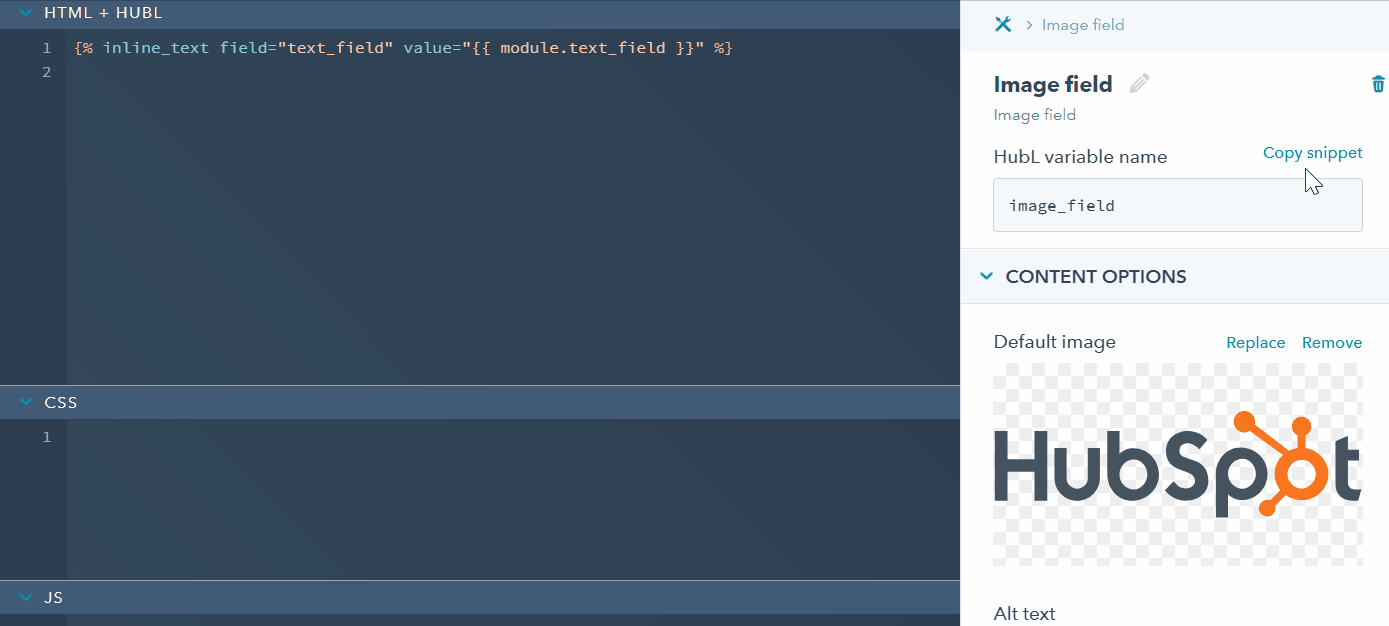
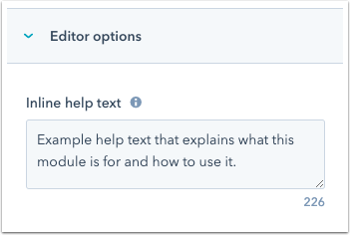
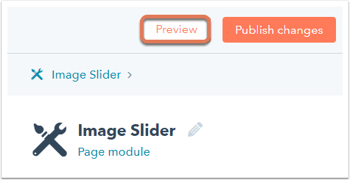
In the design manager tool, you can create custom coded modules to add advanced features to your blog, pages, or emails . Custom modules offer a wide range of functionalities so that content can be fully customized within the page, email, or blog editor . You can build custom modules from scratch or add pre-built modules from the HubSpot Marketplace. Please note: creating modules requires knowledge of HTML, CSS, HubL, and the HubSpot design manager. HubSpot recommends working with a designer to create coded modules. By default, the content editor will reference a module using the name it was given in the design manager. If you want your module to use a different name in the content editor, you can do so by entering a label. Add fields to the module to set the module's content or styling and make it editable in the content editor. Learn more about available field types in our developer documentation. In theContent Optionssection, you can add default content that appears when the module is used in templates and content editors. The options for default content will differ depending on the field type. In the example below, the field type is an image field, so the options for default content are selecting a default image and hiding size controls. In theEditor Optionssection, you can enable the following options for how users can edit the module in the content editor: You can use field display conditions to set a module field to only appear if another field meets certain criteria. In the example below, display conditions are being set for an image field. The condition is that the value in a text field named image_title must be equal to Headshot in order for the image field to appear in the module. The display conditions will be automatically enabled once you've set a condition. To disable the display conditions, click the toggle switchon the right ofDisplay Conditions. You can set repeater options for your field in the Repeater Options section. Repeaters are fields and groups that can create multiple objects and display them using a In the example below, the image field is being set up as an image slider. The object count limits are set The repeater options will be automatically enabled once you've modified one of the options. To disable the repeater options, click the toggle switchon the right ofRepeater Options. After creating fields, you can group up to 4 of them together to keep your fields organized by relevance. Field groups can be used to build out custom field logic. Learn more about module field groups. To group module fields together: As you edit your module, you can write additional module syntax in theHTML + HubL,CSS, andJSeditor panes. Learn more about themodule code editorandmodule syntax referencein HubSpot's designer documentation. In the Editor options section, add help text to give users context when editing the module. Help text can be no longer than 300 characters. When a user edits the module in a content editor, the help text will appear above the module fields. You can preview how your module will appear and function in the content editor by clicking the Previewbutton at the upper right of the module editor. The preview of your module will open in a new tab. This preview syncs with the editor and will automatically refresh as you work. Once you're done adding fields and writing your module syntax, you can proceed to publish your module. In the upper right, click Publish changes . In addition to creating your own modules, you can add or purchase custom modules that other users or providers have created in the HubSpot Marketplace.
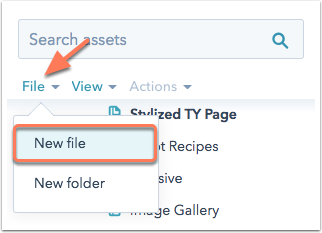
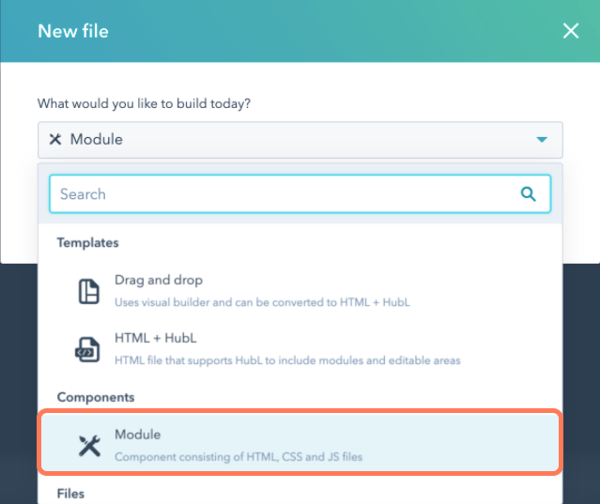
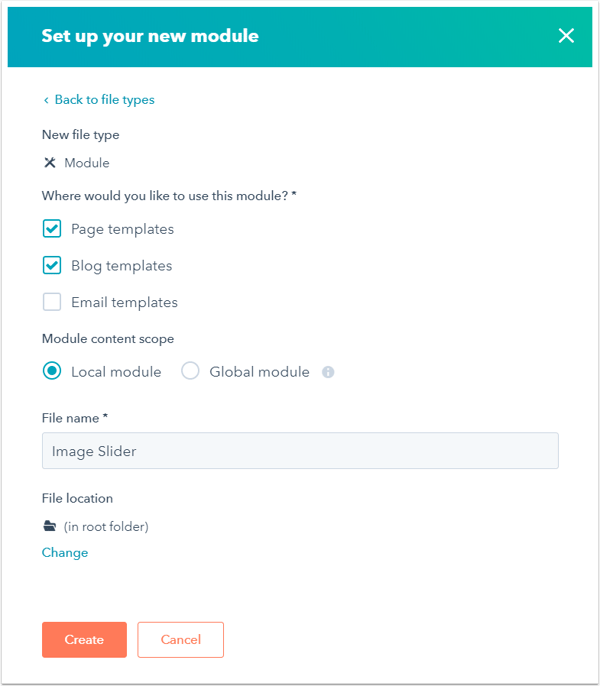
Create a new module
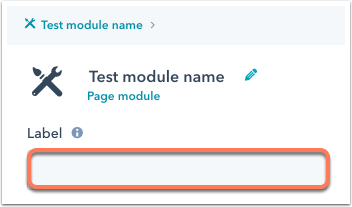
Label your module
Add fields to your module

Add field default content
Set field editor options

Set field display conditions
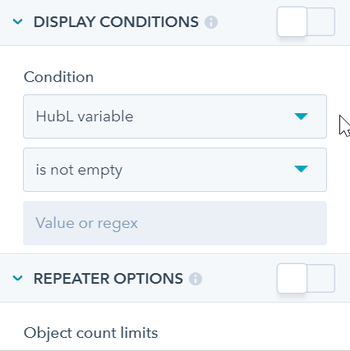
Set field repeater options
for loop.

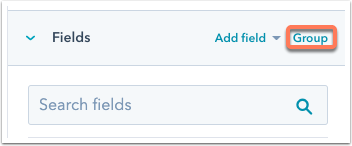
Group module fields
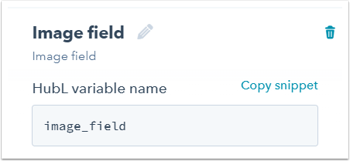
Copy and paste your field snippets
Write your module syntax
Add help text to your module

Preview your module
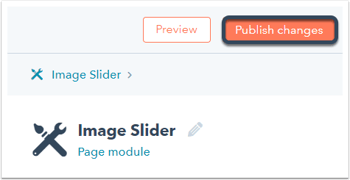
Publish your module
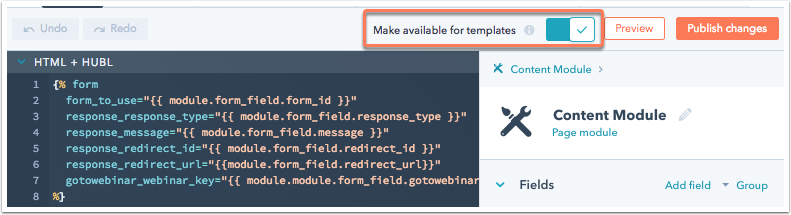
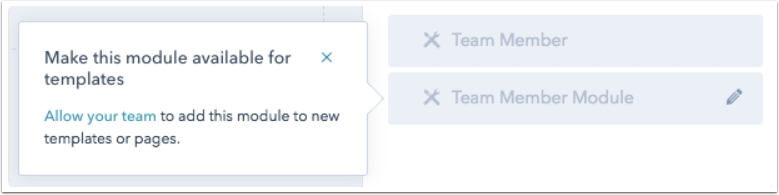
Make your module available for templates
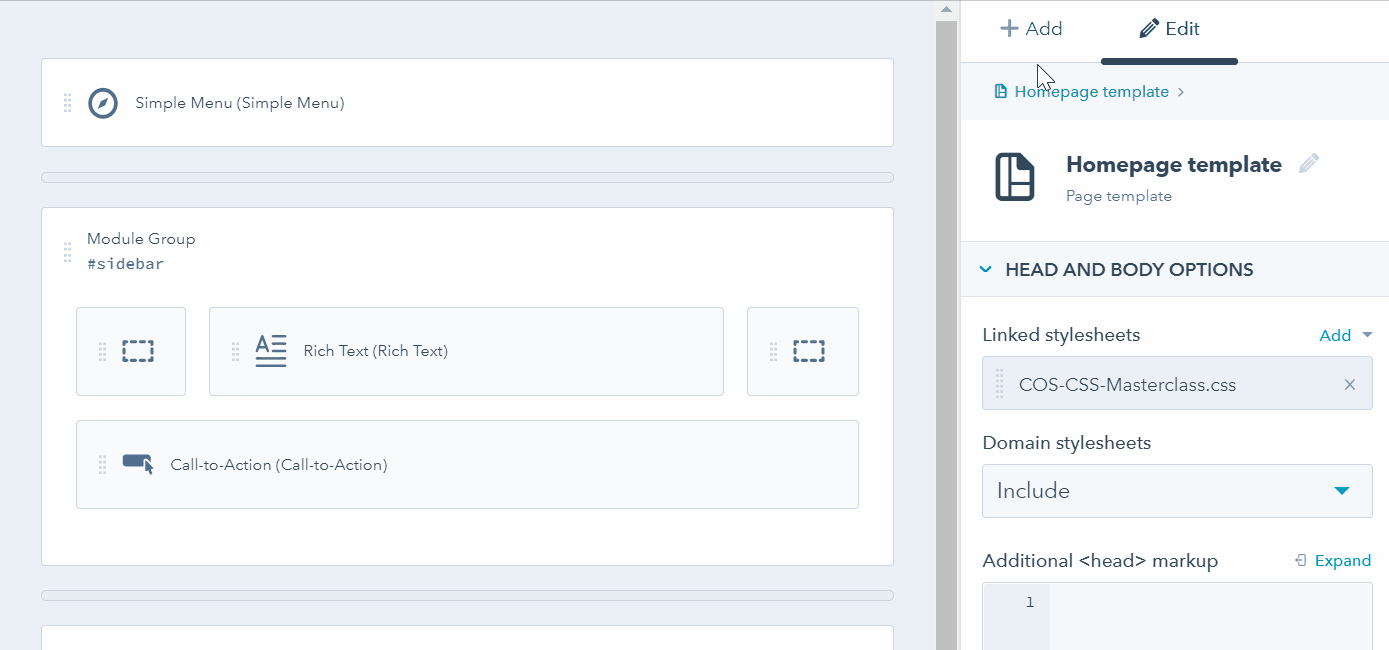
Add your module to a template
Add or purchase a module from the Marketplace
Design Manager
Hubspot Design Tools Email Template Modules Media Size Css
Source: https://knowledge.hubspot.com/design-manager/create-and-edit-modules
Posted by: pearsonprooroo.blogspot.com
0 Response to "Hubspot Design Tools Email Template Modules Media Size Css"
Post a Comment